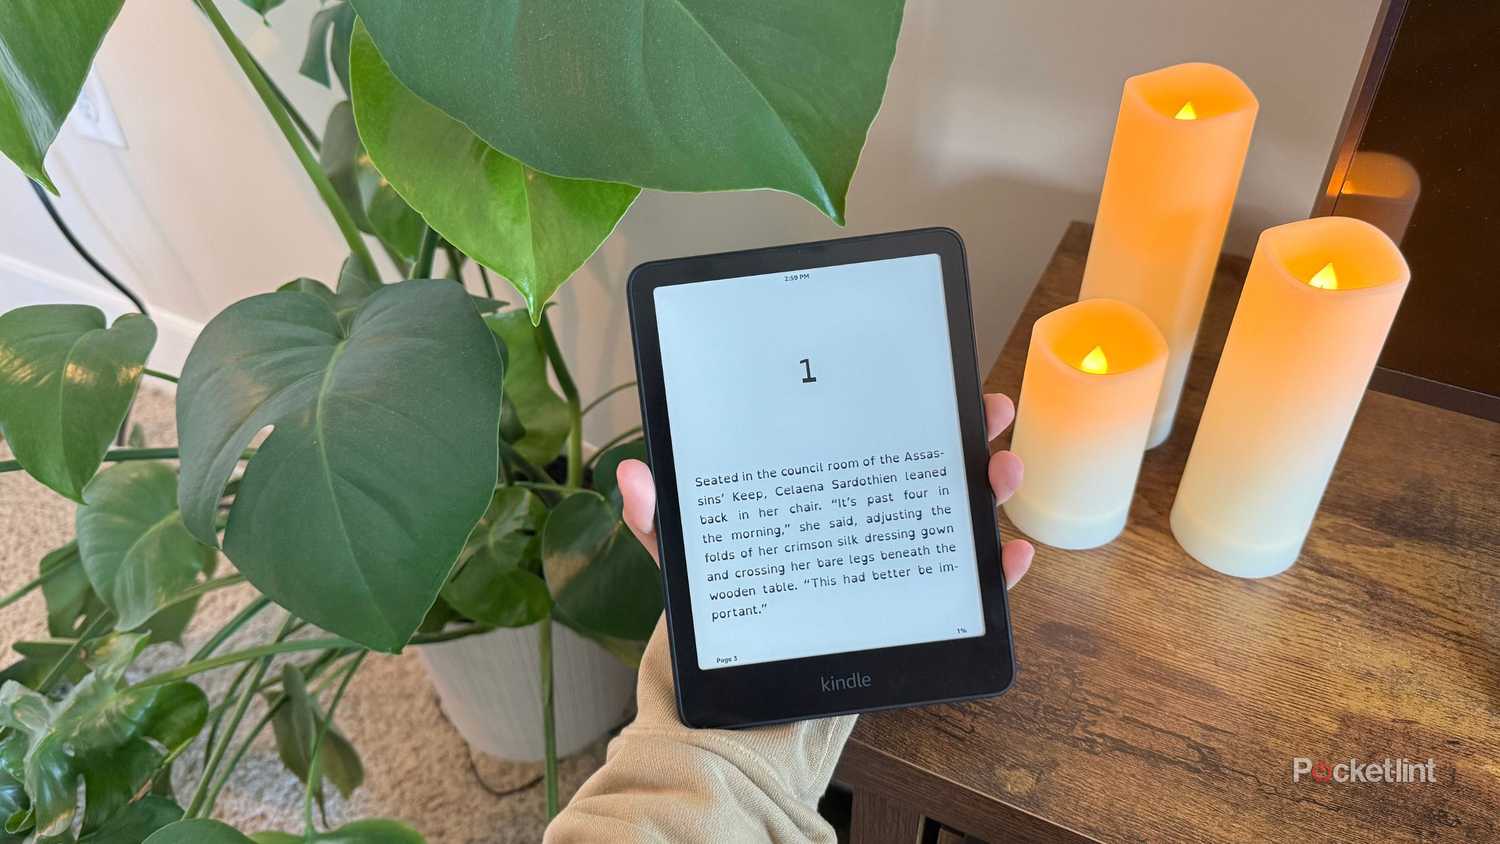
Kindles are one of the best single-use devices on the market. I hate to even say single-use, since I read so much more than Amazon’s e-books. But at their core, Kindle devices serve as a platform for distraction-free reading without straining your eyes, no matter the time of day or how much sunlight is beating down on the screen. E Ink really is worth the hype, I fear.
What I love most about my Kindle is its simplicity. Yet within that simplicity, there’s no shortage of settings and accessibility options to make the reading experience my own. Amazon toes the line perfectly — it offers just enough customization to keep things fresh without overwhelming readers with choices.
Everyone knows you can change the font size. Here are five of my favorite (but much more uncommon) tools that your Kindle has in its arsenal.
- Brand
-
Amazon
- Screen
-
7-inch E-ink, 300ppi, 16-level gray scale
- Storage
-
16GB
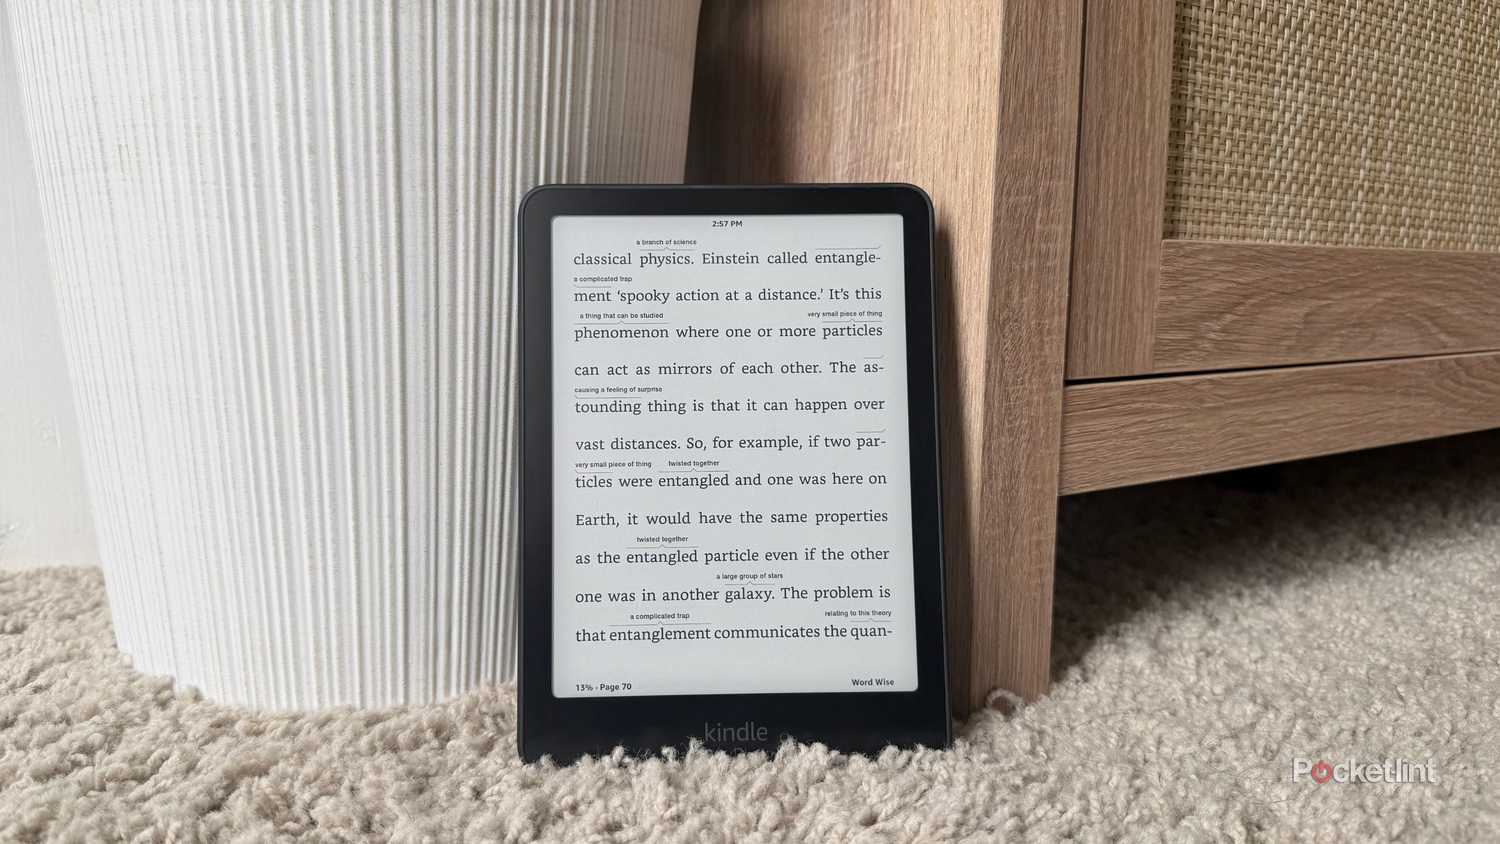
Word Wise
A gentler, more convenient dictionary
The first time I read the Harry Potter books, I was enthralled by JK Rowling’s word choices. However developed my vocabulary was, seeing words like “incumbent” and “tumultuous” at 12-years-old still threw me for a loop. While I used the built-in dictionary that pops up when you hold down on a word, it interrupted my reading flow. Word Wise doesn’t.
Here’s how to turn it on:
- Tap the top of your screen.
- Tap Aa.
- Tab over to More.
- Scroll down to Word Wise, and toggle the switch to on.
- Tap out of the menu and back into your book. If it doesn’t activate right away, tap Word Wise in the lower right-hand corner of your screen.
When you activate Word Wise on your Kindle, you’ll notice that the line spacing grows wider. This is to make room for the concise definitions and explanations that will populate over more difficult word choices on the page. To disable it and make the lines return to normal, tap Word Wise again and select Hide.
Assistive Reader
Audiobook, or focus tool?
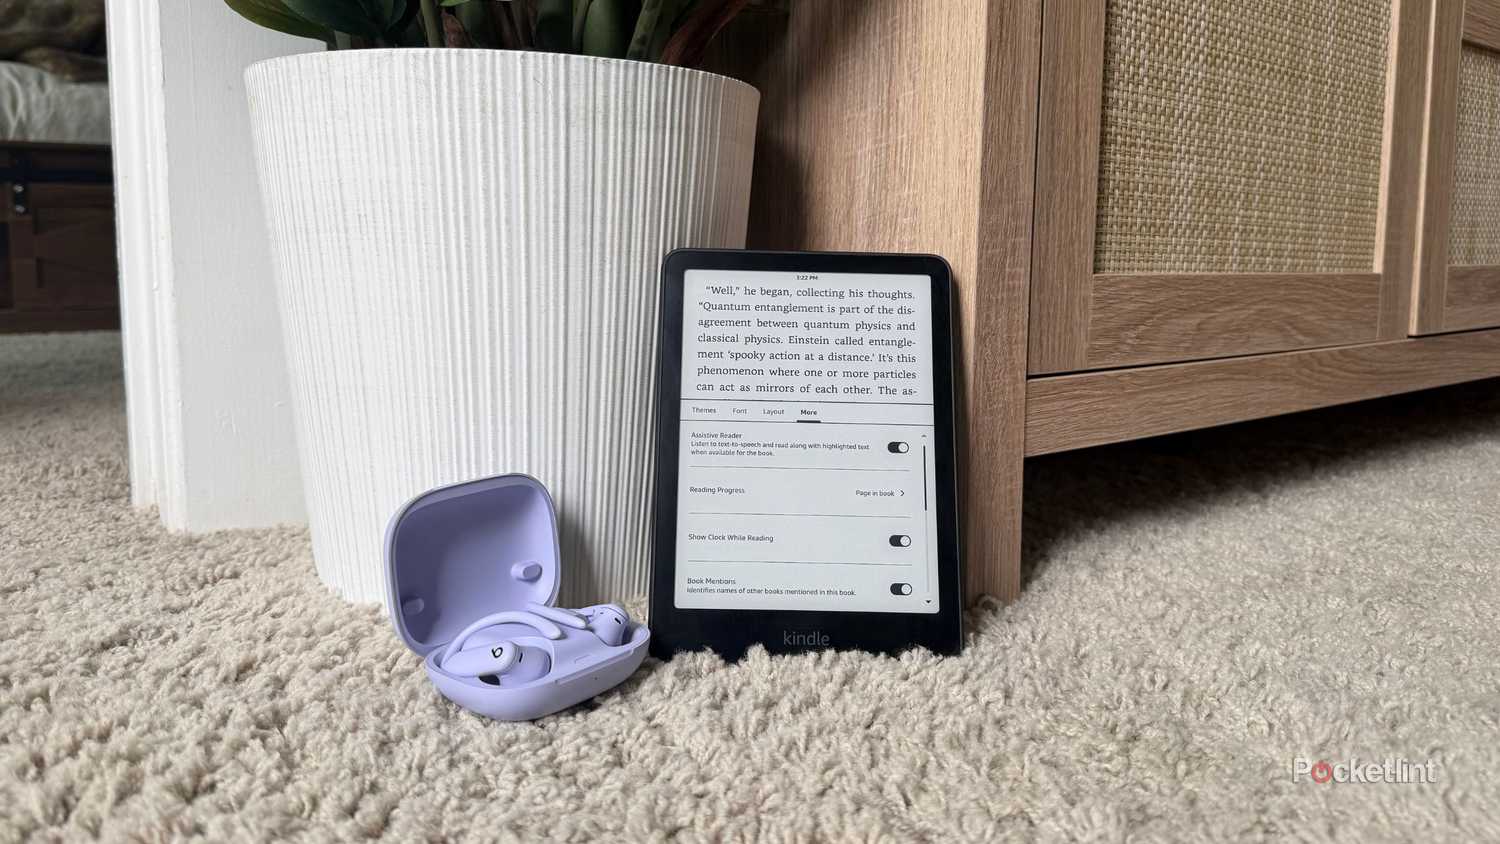
Assistive Reader is a newer accessibility feature that reads your text aloud while highlighting it as you go. Essentially, it’s a focus tool that helps readers who get distracted easily. To use it, you must connect your Kindle to Bluetooth headphones or a speaker, since it doesn’t have external speakers or headphone jacks. Assistive Reader offers adjustable speeds and a few different voice tones so you can personalize it to you.
To use Assistive Reader, follow these instructions:
- Tap the top of your screen.
- Tap Aa.
- Tab over to More.
- Toggle Assistive Reader on.
Once you have it enabled, you can enjoy the narration and highlights to follow along. And you’re in control — pause, play, rewind, and speed control are all within your grasp.
I don’t recommend Assistive Reader as a full audiobook substitute — it works best as an assistant rather than a replacement. If you’ve ever listened to a professionally produced audiobook, you know nothing quite compares. Still, as an audio learner, I find it incredibly useful for staying focused during longer or more complex reading sessions.
Assistive Reader is available on 11th Generation Kindles and higher, Kindle Scribe, or Kindle Colorsoft. It also only works with books that have Enhanced Typesetting, so make sure your book has that before you try.
VoiceView (Paperwhite only)
Speak, Kindle — speak!
Before I dive in, please note that VoiceView is only available for Kindle Paperwhite models 10th generation and newer and Kindle Oasis models via Bluetooth.
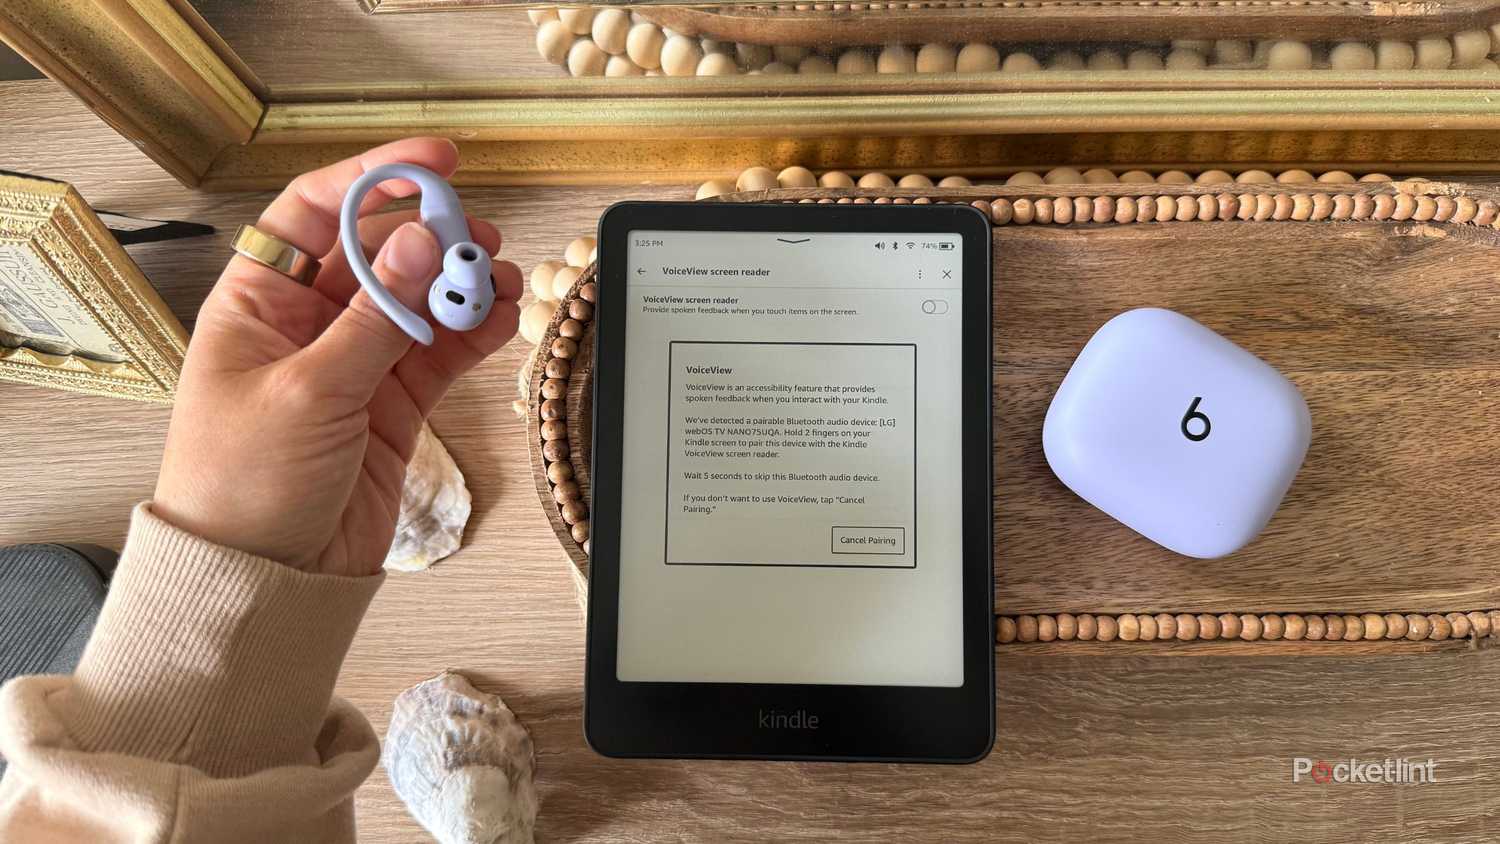
VoiceView is slightly different from Assistive Reader — rather than functioning as a focus tool, it’s designed to make the Kindle accessible for blind or low-vision readers. It narrates menus, books, and interface elements aloud.
Some people like to call VoiceView an Audible or general audiobook replacement, but don’t want you to get your hopes up — the voice is somewhat robotic and a little slow if your attention span is on the shorter side. However, I cannot understate its value as an accessibility lifeline for readers who can’t rely on vision alone.
To access VoiceView, follow these steps:
- Tap the top of your screen, and select the three-dot menu in the upper right.
- Select Settings from the dropdown.
- Tap Accessibility.
- Tap VoiceView screen reader.
- Toggle it on, and connect to your Bluetooth speaker or headphones.
Once it’s enabled, you’ll notice its accessible-nature immediately. If you try to tap the back arrow like normal, your Bluetooth device will say, “Back button — double-tap to select.” Follow the prompts to get back to your book, where the voice will begin narrating immediately. When it’s time to turn the page, you’ll hear a clicking sound indicating the transition.
Admittedly, VoiceView makes Kindle’s interface clunkier and a bit frustrating to use — at least, at first. But, for blind or low-vision readers, it only adds to Kindle’s ability to include all kinds of readers, regardless of ability.
Landscape Mode
Side-readers, rejoice
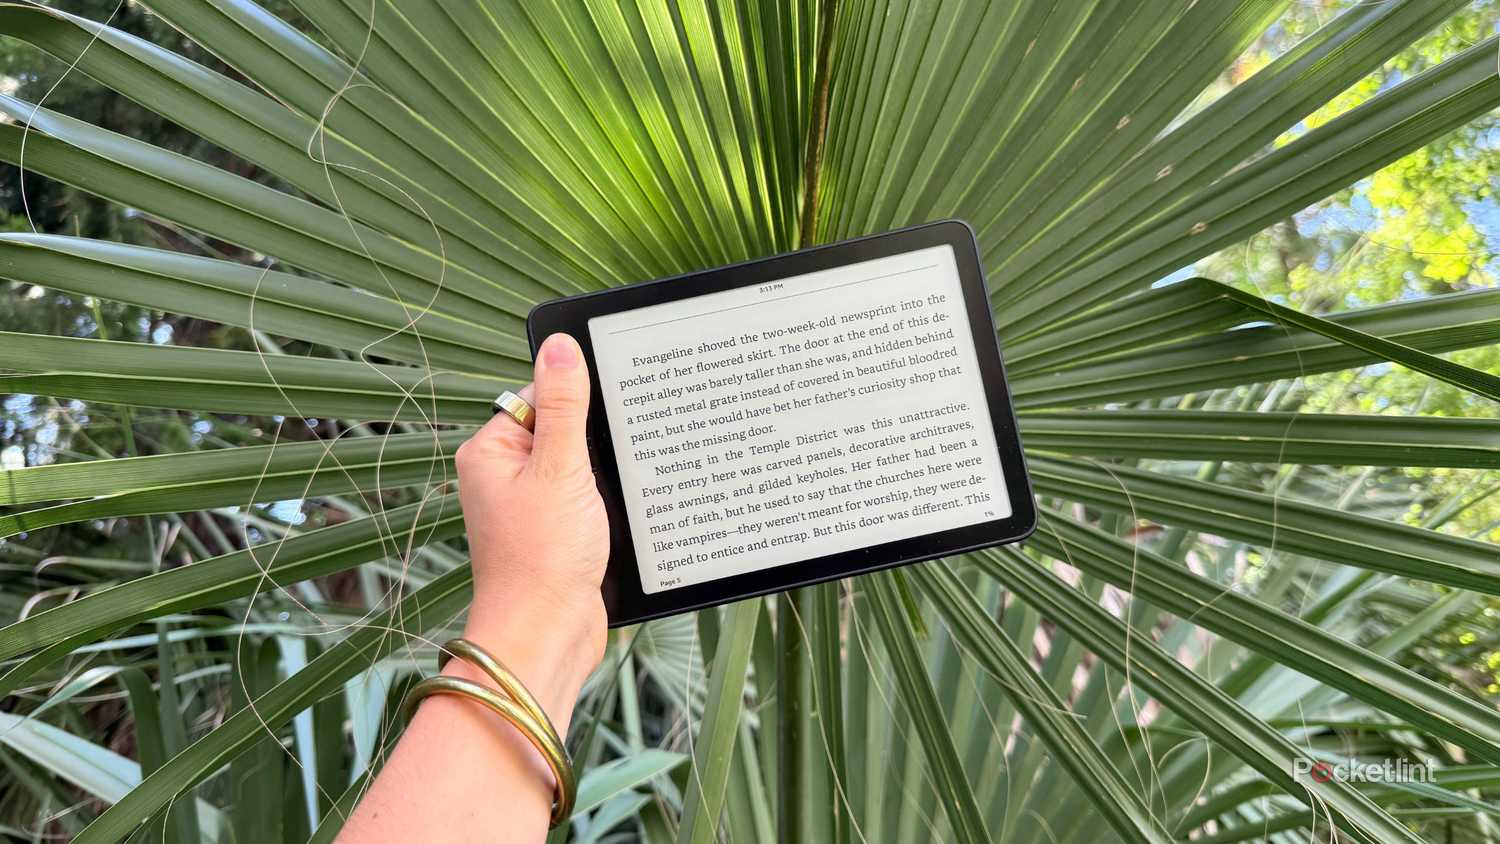
Landscape Mode is a gamechanger, especially if you like reading in bed late at night or on a towel at the beach. Landscape mode is exactly what it sounds like: a horizontal reading experience that flips your screen’s orientation so you can read it long ways rather than in portrait mode (and like a traditional book).
Some readers love it because it reduces eye strain — you don’t have to jump from line to line as often. It’s similar to watching a movie on your phone in bed: if you roll onto your side, you want the screen orientation to roll with you. I like using landscape mode the most when I’m staying up way too late (sometimes 4AM) reading — there’s just something so cozy about reading ‘one more’ chapter in landscape.
To enter Landscape Mode, follow these steps:
- Start within a book you’re already reading. Tap the top of the page to open the menu options.
- Tap the Aa option.
- Select the Layout tab.
- Under Orientation, tap the second option depicting Landscape mode.
- Tap out of the menu, and your text will reorient.
OpenDyslexic
Tiny change, huge impact
OpenDyslexic is an open-source font developed to minimize letter confusion and hold readers’ focus. It was originally designed for dyslexic readers, and includes heavier bottoms to anchor each letter and specifically highlight the difference between b, d, p, and q.
Dyslexia is a learning difference that can make reading challenging or exhausting. Accessibility features like this don’t just make reading more comfortable for dyslexic readers — they open doors to entire libraries of stories. OpenDyslexic is a font that everyone can enjoy — the bottom-heavy letters actually keep me more focused than if I were to read Helvetica or Times New Roman.
Here’s how to change your font to OpenDyslexic:
- Tap the top of the page on your current read.
- Tap the Aa in the menu banner.
- Select the Font tab.
- Under Font Family, tap the arrow on the far right.
- Among the selectable fonts, choose OpenDyslexic.
- Exit, and your book should convert to the new font.
Trending Products

Thermaltake V250 Motherboard Sync A...

CHONCHOW LED Keyboard and Mouse, 10...

SAMSUNG 27″ CF39 Series FHD 1...

HP Stream 14″ HD BrightView L...

HP Latest Pavilion 15.6″ HD T...


